Soft Dorothy Blog

Glider - Photoshop Layers
Once scanned in, the art becomes a layer in a Photoshop document. You can see the individual layers in the above image.
Monday, July 11, 2011
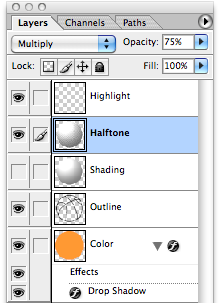
The scanned image is but one layer (made slightly transparent above).
A second layer is created beneath the artwork and takes on a solid color and a slight drop-shadow. The art looks better now but is lacking in depth – lacking three-dimensionality.
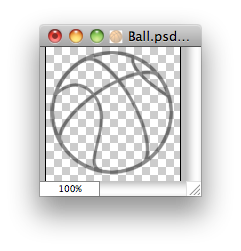
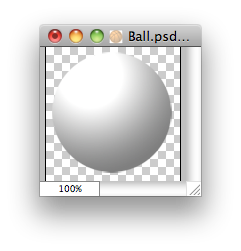
To create the printed, halftone look I want for Glider, I begin by creating the shading using strictly grays.
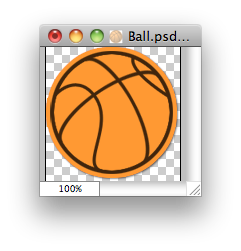
Photoshop allows you to convert this grayscale image into a halftone pattern – the result is shown below against the solid color background.
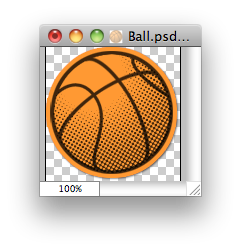
Add back the original artwork layer....

And there you have it. Ready to export as a PNG file for use as a sprite in Glider.